Stepping Stone School
Supporting Families & Learning at Home
June 5th
|
|
At
Stepping Stone School, our mission is to offer exceptional nurturing and education for our students, and extraordinary support and care for all parents and families!
Many families are finding new and creative ways to engage and educate their children while at home. We compiled a list of fun and educational activities and resources for you to use with your family.
WE ARE HERE TO SUPPORT YOU!
|
|
|
|
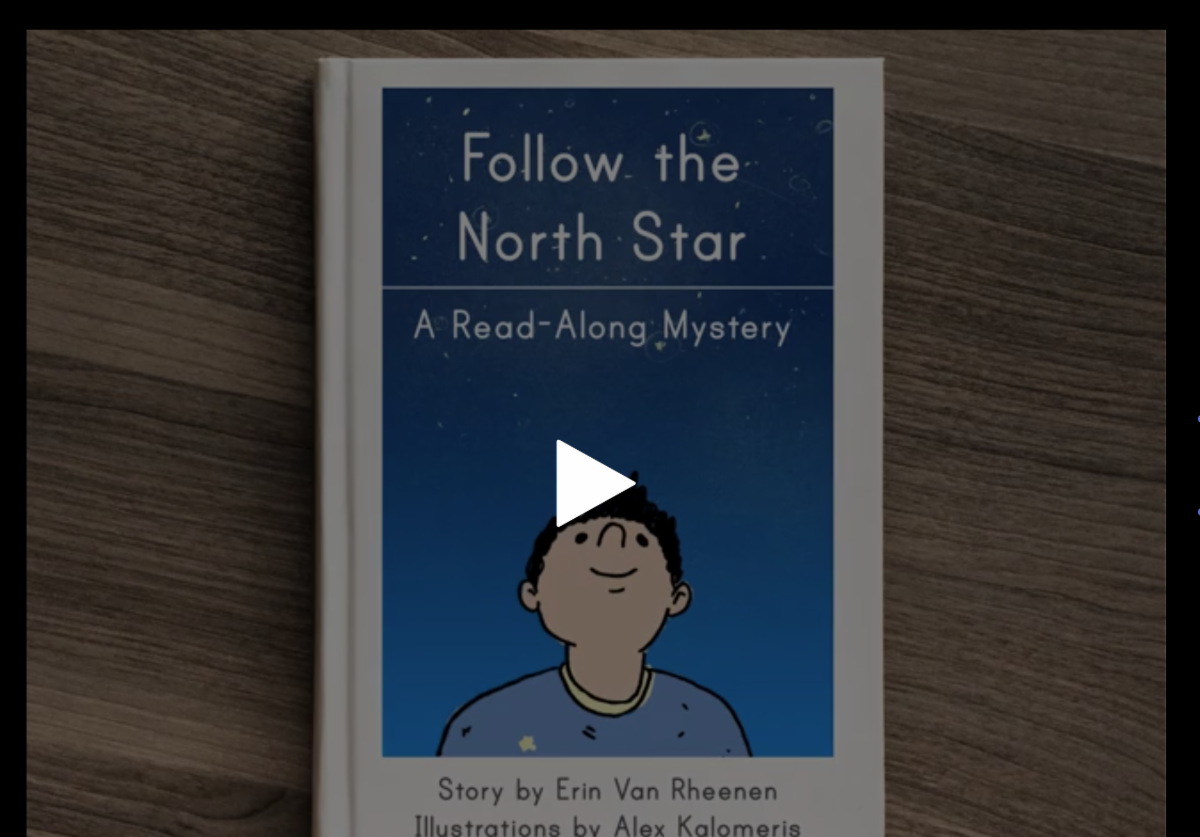
How can stars help you if you get lost?
In this Read-Along Mystery, Ryan’s camping trip with his dad includes a night of stargazing, and a mystery to solve. The Mystery includes a short exercise where students imagine what they might see looking through a telescope. You can extend the lesson with the optional activity, Where Is North?, that helps students learn the cardinal directions.
|
|
Community & Cultural Awareness
|
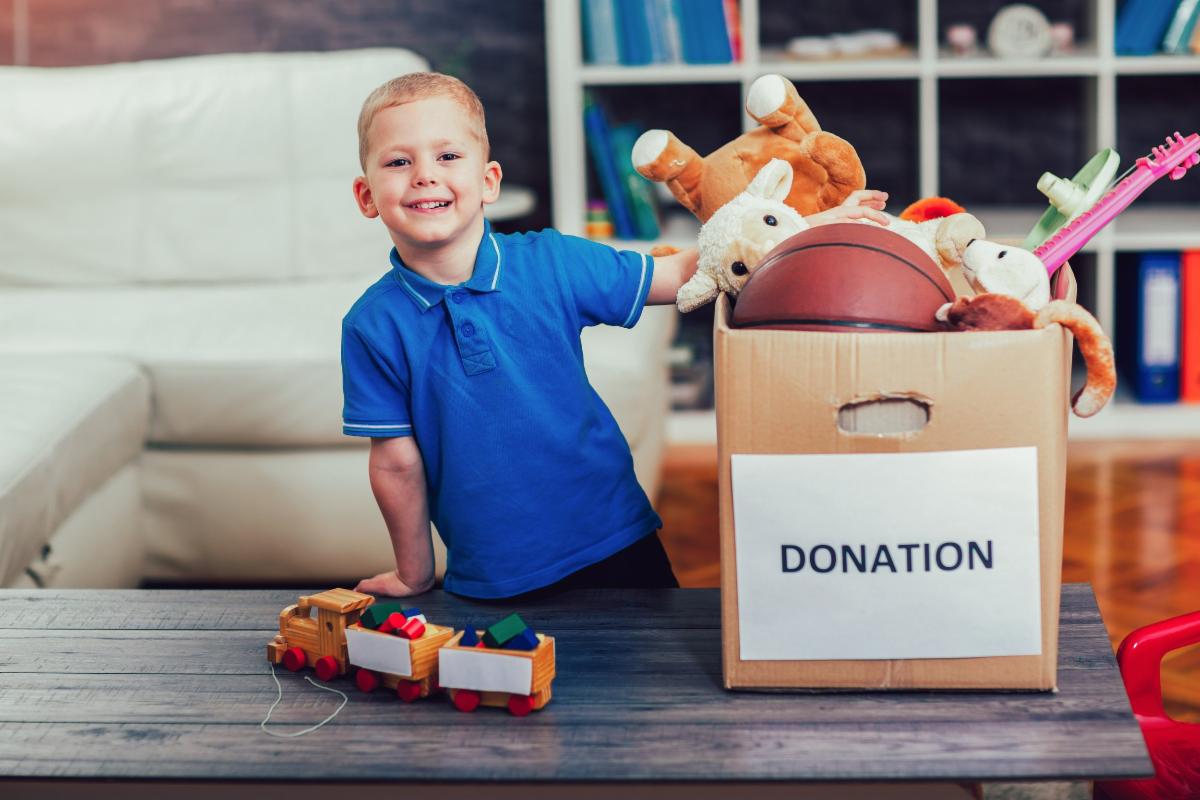
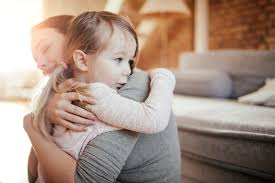
How can children practice kindness from home?
Studies report that showing compassion or gratitude can boost those feel-good hormones (serotonin and dopamine) in your brain. So encouraging children to bring a snack to someone without being asked or to give a random hug to a sibling isn’t simply being nice—it might also be helping to boost their mental health.
The most important thing parents can do to foster kindness in children is to model kindness themselves. Encourage them to continue to care for the planet as well as other people.
Children are finding ways to practice kindness outside their families. In Oakland, two sisters are created keychains to raise money for kids who can no longer rely on school lunches. Two Arizona brothers started making cards for healthcare workers. One South Dakota girl wrote a letter to her mail carrier thanking him for his service—and received dozens of notes in return.
“Children understand fairness at an early age,” says Harvard lecturer, Josephine Kim, faculty at the Center for Cross-Cultural Student Emotional Wellness “We can harness a child’s keen sense of fairness to encourage empathy.”
Granted, there’s not a lot that’s fair—or kind—about the pandemic. But maybe if we continue to look for new ways to treat each other fairly and kindly while we’re together at home, we’ll be able to treat the world a little better once we’re finally able to emerge!
|
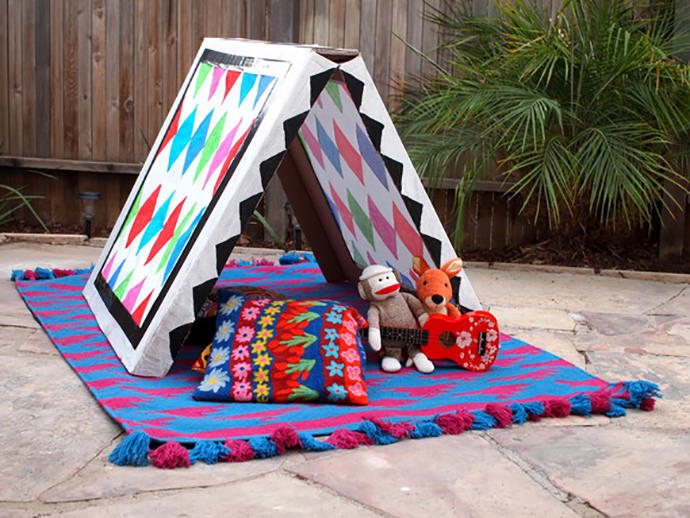
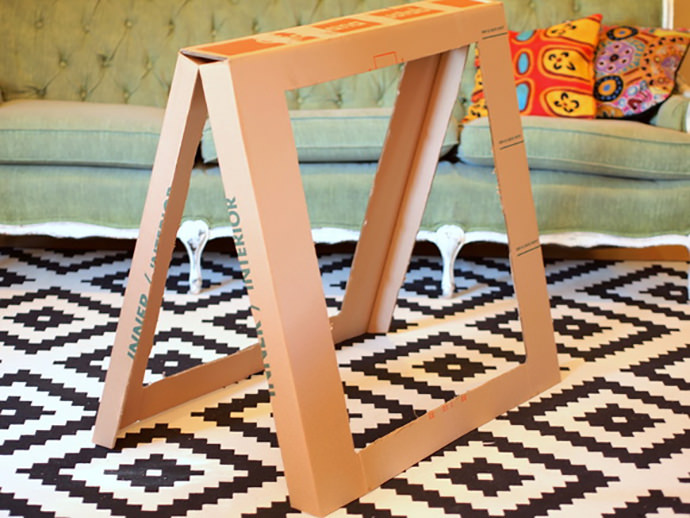
DIY collapsible tent… from cardboard! Yes, cardboard! Creative children will love getting in on the building fun.
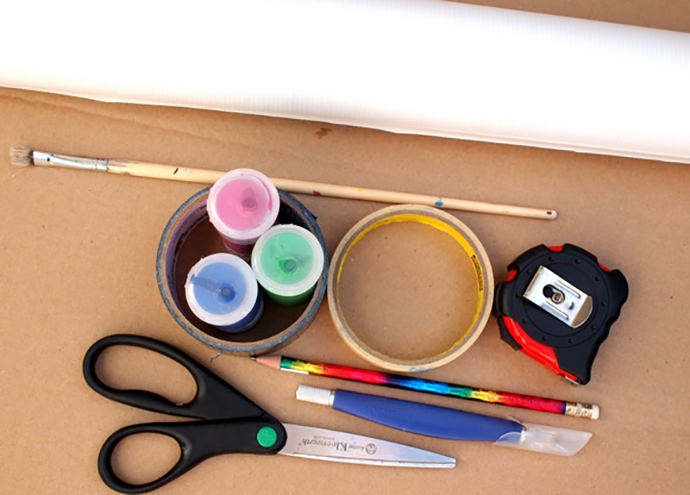
WHAT YOU NEED
- Cardboard TV moving box
- Scissors
- Box cutter
- Paint
- Paint brushes
- Duct tape
- Masking tape
- Exacto knife
- Tape measure
- White craft paper
HOW-TO
Step 1
Your cardboard TV moving box will come in 2 parts- an inner box and an outer box. Pull them apart and use either one to make the tent. Cut out two similarly sized rectangles on each side of the tent. Make sure that the height of your rectangle is smaller than the width of your craft paper. The craft paper needs to cover the holes.
Step 2
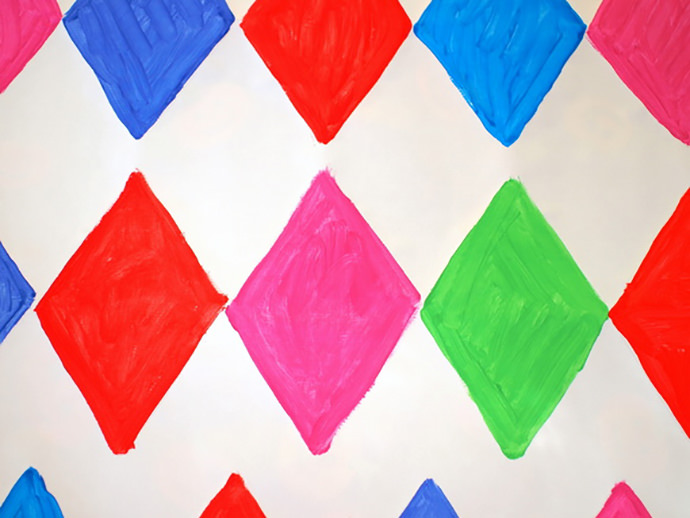
Measure the rectangular holes and cut out a piece of craft paper that is slightly larger than the hole. Cover your work area Now the children can paint a design with tempera paint onto the paper. Repeat this process with another sheet of paper.
Step 3
Continue the painting fun and use craft paint to decorate the outside of your tent!
Step 4
Once your two sheets of craft paper dry, tape them onto both sides of the tent. I first used pieces of masking tape to hold the paper in place. Then used duct tape and an exacto knife to cover the edges completely.
|
|
Art & Creative Expression
|
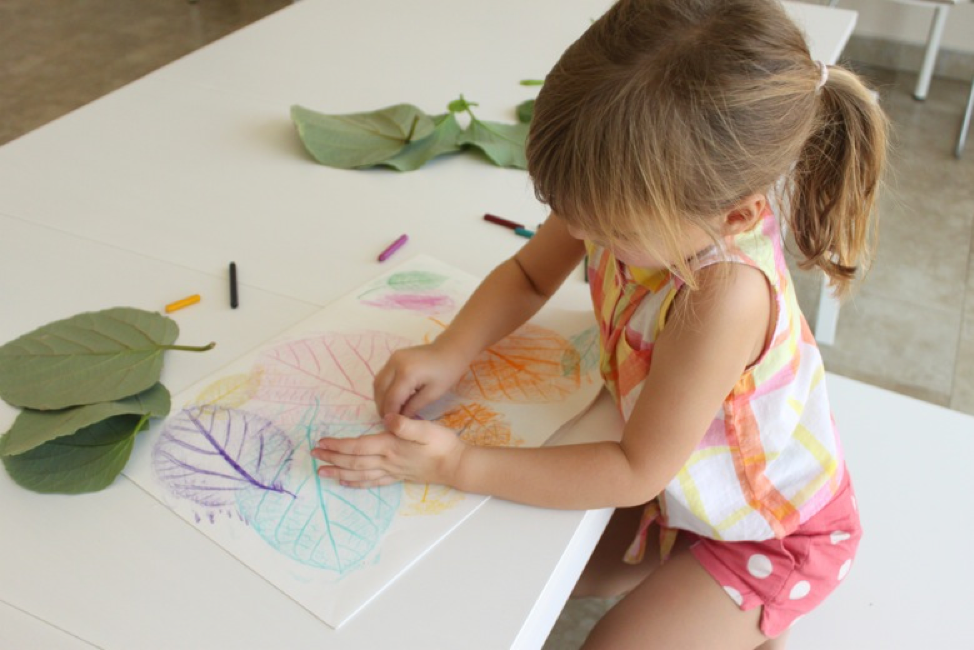
Leaf Rubbing Art
- Head outside and collect leaves.
- Once back indoors, you can use the broken crayons, and peel off the wrappers which is a great fine motor skill activity!
- Next, using a large pad of white paper, sandwich the leaf between the top sheet of paper and the rest of the stack, you can also do this with a single sheet of paper, but using the whole pad helps the leaf stay in position.
- Then, using a crayon on its side, gently rub the crayon all over the leaf, allowing the magic to happen.
- Add more leaf rubbings to create a beautiful collage.
|
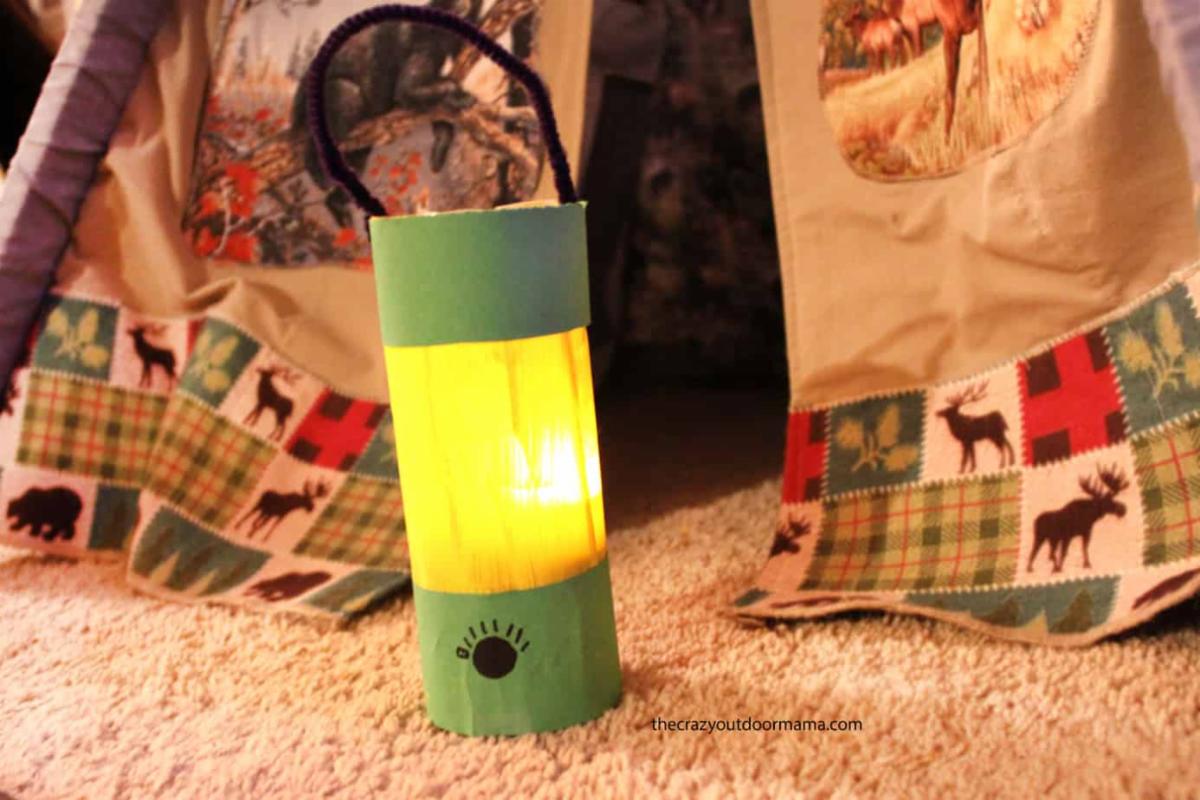
Recycled Lantern Project
All you need is a water bottle, construction paper, paint and some tape. If you want to REALLY bring this lantern to life, you can also use an electric tealight!
Here’s how you make your camping lantern!
MATERIALS
- Water bottle with label removed
- Yellow Paint
- Two small strips of green construction paper
- Pipe cleaner for the handle
- Hole punch or something sharp – this is just to make a spot for the pipe cleaner to thread through for the handle
- Tape
- Scissors
- Marker for adding lantern buttons
HOW TO MAKE
Time needed: 10 minutes.
- If you are going to use an electric tea light, cut the top of the bottle off.
- Paint water bottle yellow
- After paint dries, tape on 3″ tall green strips on top and bottom of “lantern”
- Hole punch or make a slit on each side of the lantern and thread the handle through
- Draw on the main “dimmer” knob and any additional buttons or decor you want on the camping lantern
|
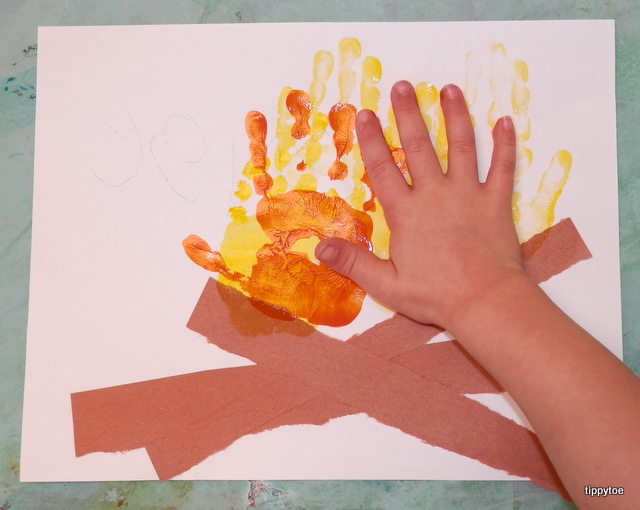
CAMPFIRE HANDPRINT
- Orange and yellow paint
- Glue
- Paper or sticks
- Markers or paint for the writing
STEP 1: PAINT YOUR CHILD’S HAND WITH THE CAMPFIRE COLORS
It’s up to you if you want to use just one, or even up to three!
If your child’s hand is smaller, you can do 3 or 4 handprints!
Point the fingers up to be the “flames” and the palms will be the base of the fire.
STEP 2: GATHER ITEMS FROM AROUND CAMP TO COMPLETE THE CAMPFIRE
You can add paper logs or add real sticks for the campfire wood.
|
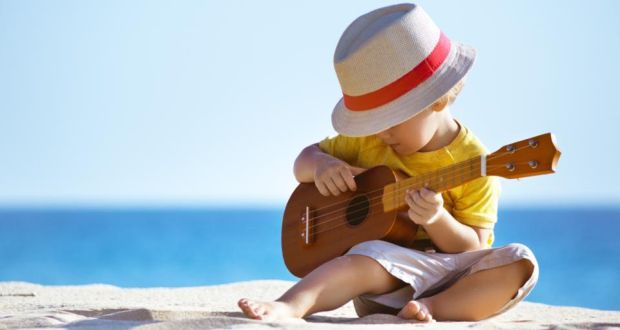
MUSICAL FUN!
When a young child listens to music, plays a musical instrument, or dances, a LOT of things are happening! The brain starts forming connections that pave the way for learning opportunities including vocabulary building and math comprehension. Not only that, music can be so much FUN!
Freeze Dance
It is as simple as it sounds. Blast some of your favorite, age-appropriate tunes, and invite your child to dance to his heart’s content (and, by all means, join him!). When he least expects it, yell “Freeze!” and stop the music. See what funny positions you, your child, and other family members end up in! How long can everyone hold that freeze position? Take turns starting and stopping the music.
Homemade Xylophone
Fill an assortment of glasses with varying levels of water. Line them up in order from least to most full. Give your child a wooden spoon (or instrument mallet), and invite her to experiment with the different sounds. Which glass makes the sound she likes best? Which makes the sound she likes the least? Can she make different sounds by tapping on different parts of a glass? Can she make a song with the homemade xylophone? To switch things up, add food coloring to the water to make a rainbow!
|
|
Writing and Literacy Readiness
|
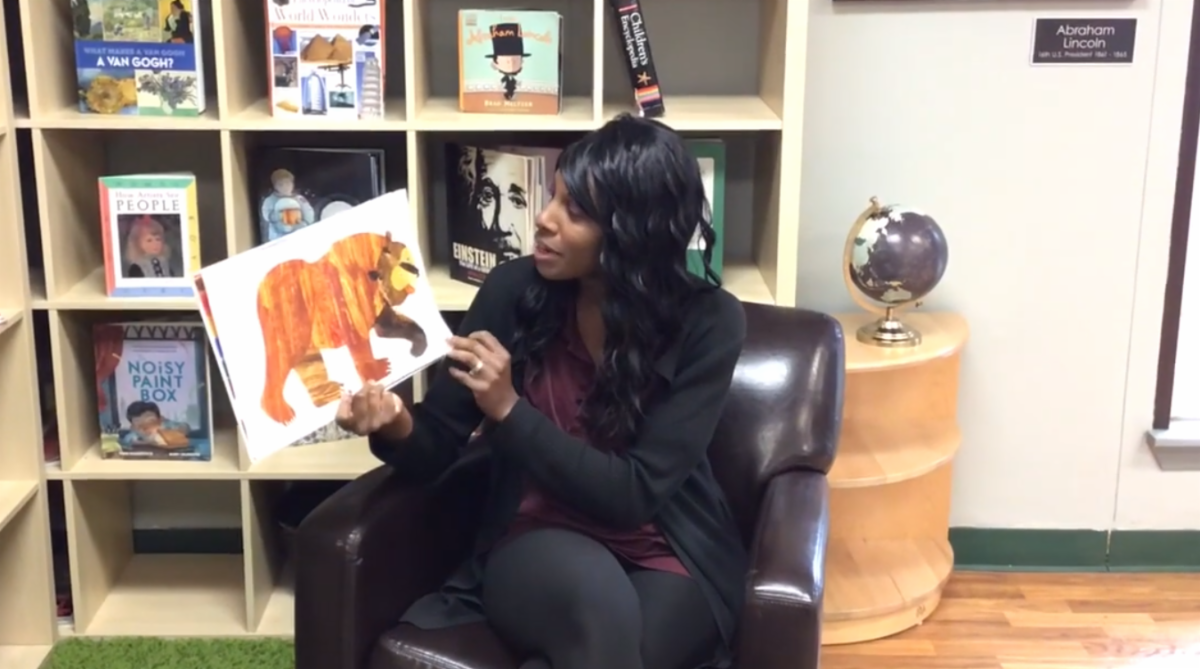
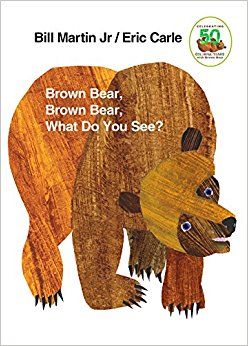
Brown Bear, Brown Bear, What Do You See?
Written by Bill Martin and Jr. and Illustrated by Eric Carle
A series of animals parade across the pages of this colorful book as children read about what different animals see. Highlighted in the book are a Red Bird, Yellow Duck, Blue Horse, Green Frog, Purple Cat, White Dog, Black Sheep, and Goldfish all illlustrated by Eric Carle. At the end of the book, children are asked what they see.
|
Brown Bear, Brown Bear, What Do You See? Activity Guide
Celebrate the books of Bill Martin Jr and Eric Carlewith these fun activities from Macmillan Publishers. Find art project ideas, connect the dot and matching game print-outs, and a maze.
|
Camping Writing Prompts
Use these writing prompts to practice creative writing. You can also use the the prompts to help your child write a story by simply drawing pictures!
|
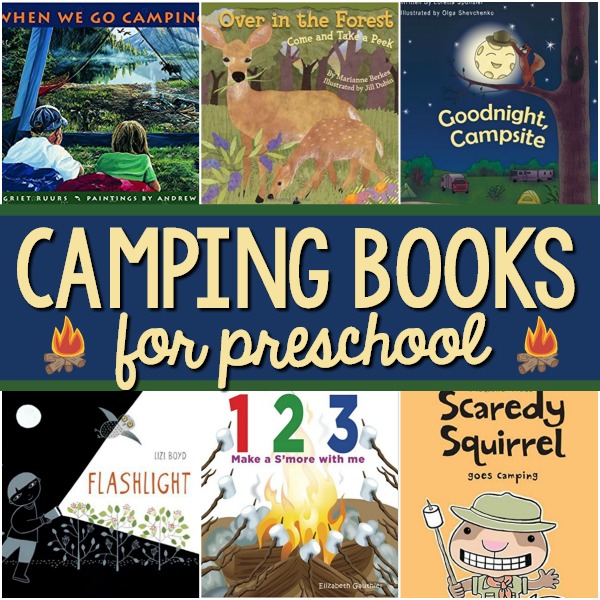
Camping Books
This alphabet book includes places you may camp, things you may use, and even some famous outdoor people.
Mr. Magee and his dog Dee drive into the forest to camp in their camper. But things don’t go as they planned.
Scaredy Squirrel would rather stay home and enjoy camping via television. But first he must plug it in…which becomes an adventure all its own.
Follow a family’s activities as they camp beside a forest lake. A list in the back of the book challenges preschoolers to find animals in each picture; facts about animals are included.
Four crocodile friends decide to go on a campout.
A campground adventure with the “good little monkey who is very curious” and his friend, the man in the yellow hat.
A collection of poems and soft illustrations of a family campout.
In this wordless book, a boy investigates the nighttime forest with his flashlight.
A fun counting book about a favorite campfire activity.
A variety of campers gather to camp at Big Meadow Park.
A family takes a trip across America, stopping in several national parks to camp and see the sights.
Bailey’s brother and sister go camping with the scouts but Bailey is too young to go.
Boys in a tent hear noises in the quiet night.
Llama Llama and his friends discover that it can be fun to camp out.
What would you do to scare a bear? What if the bear isn’t easy to scare?
This nonfiction book looks at the life of a familiar forest animal.
Photographs and facts about these nocturnal birds.
The text of this book is a variation of the song/rhyme “Over in the Meadow.”
A simple counting book, from 1-20, with photographs of forest animals.
|
|
Mathematical
& Scientific Concepts
|
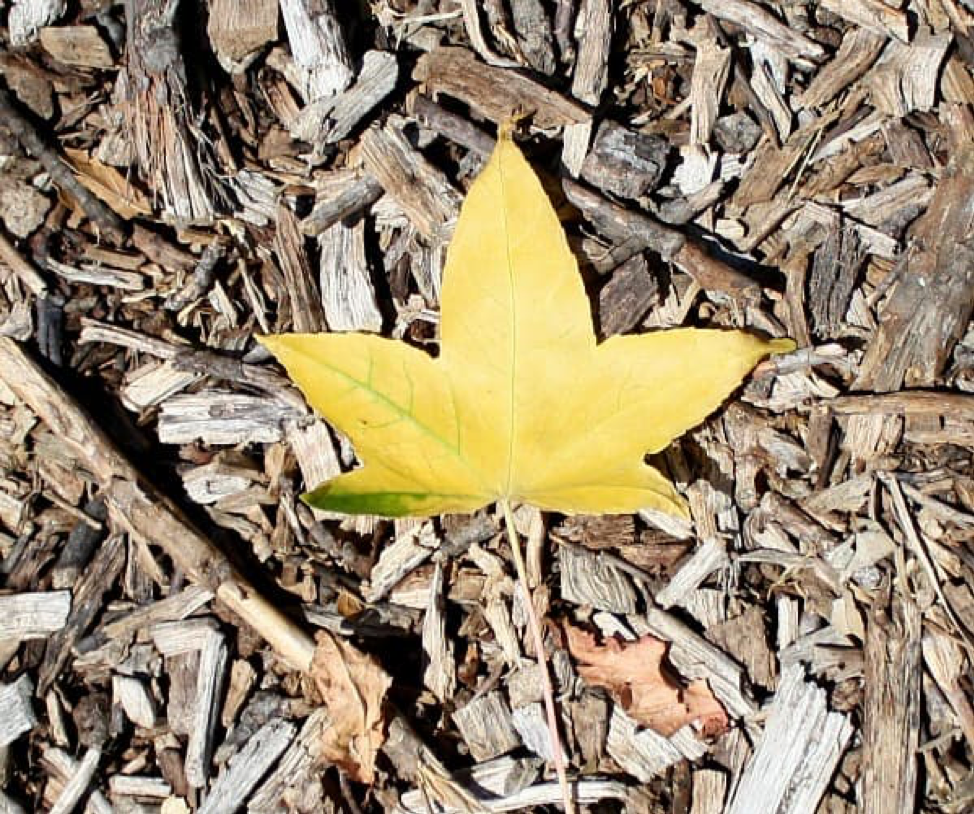
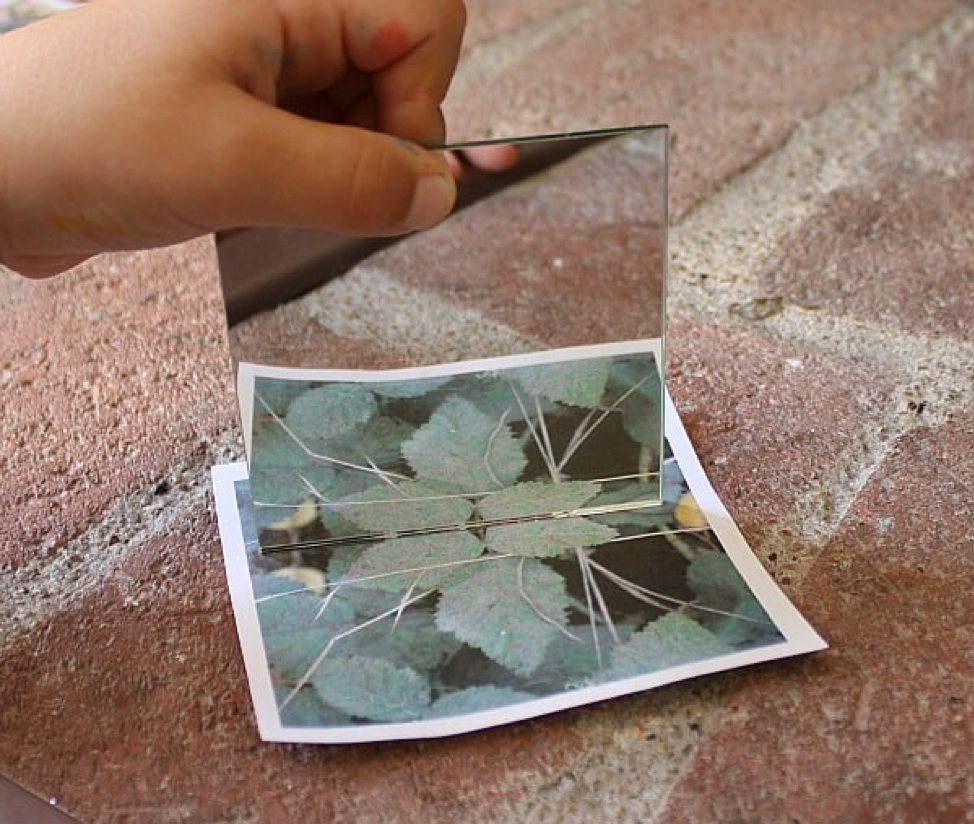
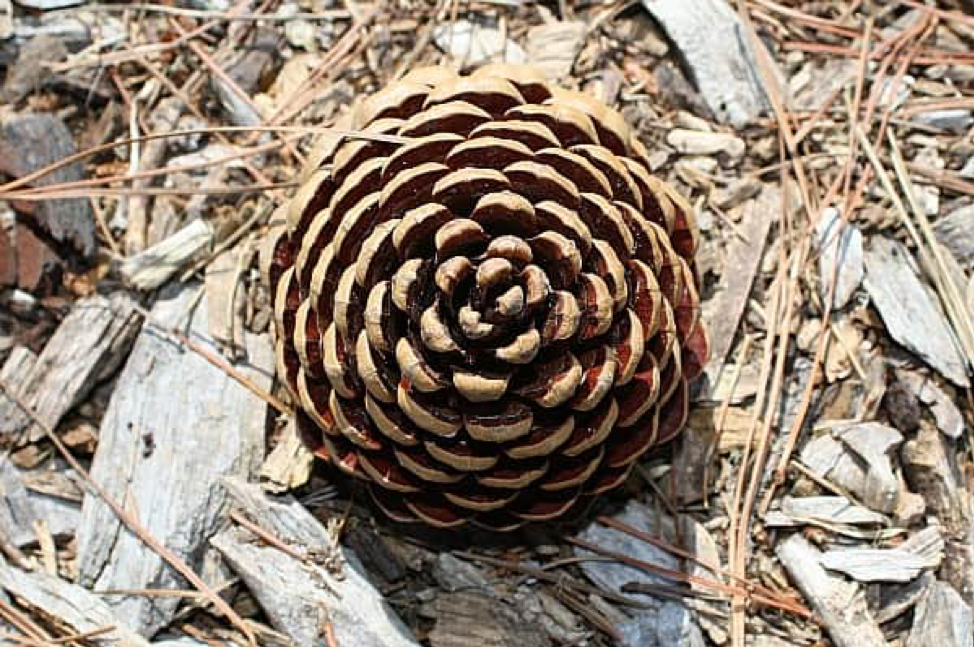
Finding Symmetry in Nature with Children
- Take pictures of various items you find on your camp out: leaves, sticks, tree stumps or pinecones.
- Make guesses on if you think they are symmetrical and talk about why.
- When you get home, print out your photos to study them more closely.
- You can discuss different types of symmetry. Rotational symmetry (where an image can be rotated on a central point and still looks the same) or reflection symmetry (where one half is a reflection of the other half.)
- After printing out your photos, use a ittle mirror and test out each image. This leaf above is a good example of reflection symmetry.
- After testing the pictures with the mirror, we sorted them into three different categories: images that were not symmetrical, images that were examples of rotational symmetry, and images that were examples of reflection symmetry.
|
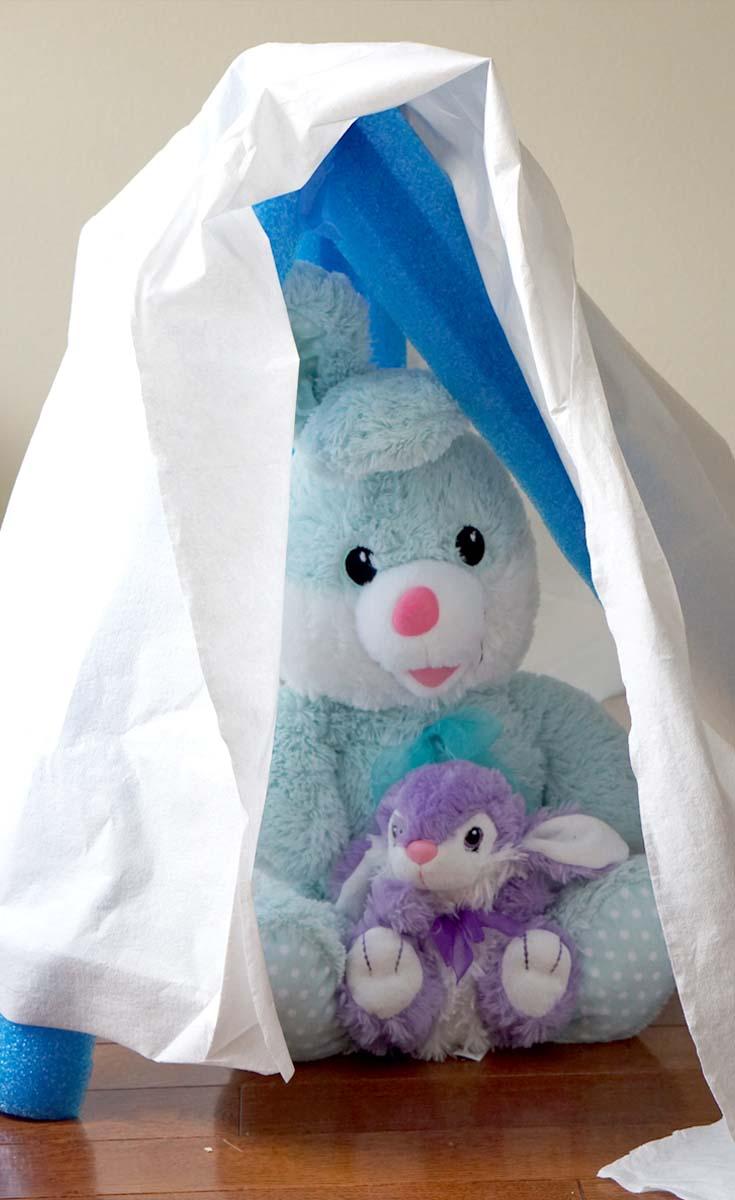
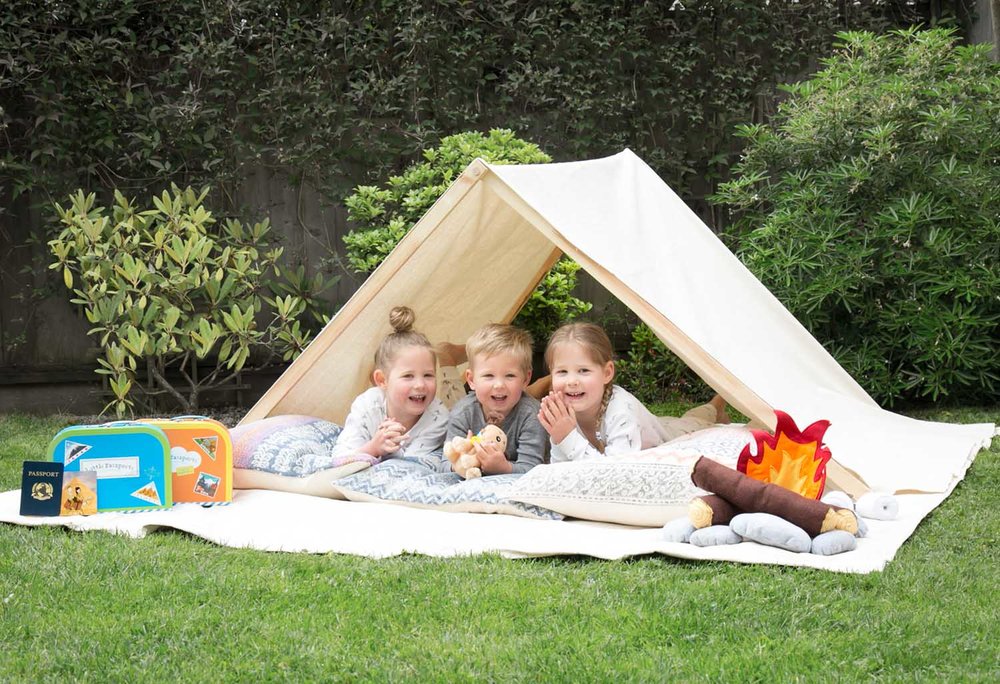
Build a Tent: A Preschool STEM Activity
STEAM Challenge: Can you build a tent that fits the most animals?
Objective: Build a tent that can hold the most stuffed animals.
Materials:
- Book, Maisy Goes Camping by Lucy Cousins
- Stuffed Animals
- Pool Noodles
- Tape
- Light weight material
Strategy:
1. Read the book,
Maisy Goes Camping
by Lucy Cousins (link below)
2. Ask, “How many animals do you think can fit in a tent?”
3. Use the materials to build a tent that can fit the most amount of animals.
4. Test your design. How many animals does your tent fit?
5. Redesign your tent to try to fit even more animals.
Guiding Questions:
- How do you enter and exit your tent?
- What would you change about your tent if a storm came?
- When do people use tents?
STEAM Integrations:
- Science: What time of the year do people usually go camping?
- Technology: What tools do you need on a campsite?
- Engineering: Build a tent that can hold the most animals.
- Art: Design and draw the ultimate tent for your animals.
- Math: How many animals fit in your tent?
|
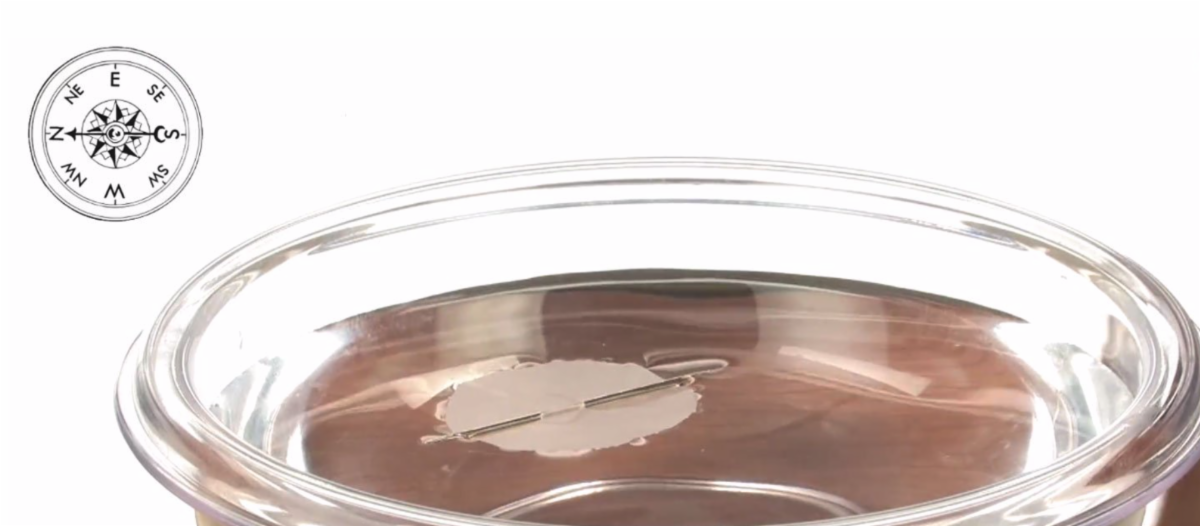
- Begin by magnetizing your sewing needle – rub one end of the needle with the “north” pole of your magnet 50 times. Using a red Sharpie to color this end of the needle.
- Repeat step one, rubbing the “south” pole of your magnet against the opposite (not-yet magnetized) end of the sewing needle.
- Using a pair of scissors, cut a circle about 1″ (2.5 cm) in diameter out of the wax paper.
- Carefully thread the needle through the wax paper circle, as you would a needle into cloth. Don’t run the needle all the way through, but leave the needle half-way through the wax paper with the needle lying flat on the surface of the wax paper.
- Float the wax paper on the surface of the water so that the ends of the needle are on top of the wax paper.
- While the needle and paper float on the surface of the water, watch what happens. The needle will rotate on the surface of the water. The red end of the needle, the end you magnetized with the “north” pole of the magnet, will point north!
You’ve made a simple compass! The key to making your compass work is rubbing the magnetic poles of your magnet on opposite ends of the needle. When you rub the needle with your magnet, you leave residual (left-behind) magnetic material. This residual material magnetizes the needle itself.
For the compass to work, you also need to remove as much friction as possible from your needles and wax paper apparatus. By floating this device on the water’s surface, you removed a lot of friction (as opposed to setting it on a countertop or table). Once floating on the water, the Earth’s magnetic field (caused by the magnetic materials nickel and iron in the Earth’s core) pull at the opposite poles of the needle.
|
|
Empathy is a complex skill to develop. First, a child must be able to recognize others have different thoughts and feelings than he has. Secondly, he must imagine himself in a similar situation to determine a possible solution to the problem the other child is experiencing.
The following are a few ideas to cultivate the development of empathy in young children:
- Focus on Feelings: Identify feelings and invite your child to do the same. Play games to guess how the other is feeling based on facial expressions. When your child is feeling a certain way, identify that emotion so the child knows what it is called. Ask questions about feelings like “How do you think that person feeling?”
- Use Pretend Play: Invite your child to respond to different scenarios during play. For example, if playing house, pretend the baby doll is upset and invite your child to try to figure out why the baby doll is upset and how to help her. Role playing scenarios provides children with the opportunity to think about how to respond before they find themselves in a real-life situation.
- Identify Commonalities: Research demonstrates children are more likely to empathize with those whom they share something in common. While in a waiting room, for example, you could ask your child to identify a certain number of people with the same hair or eye color. Helping children see commonalities between themselves and others enables them to feel connected to others.
- Practice Listening: Listening to another allows you to hear deeper needs. Practice active listening skills by asking your child to repeat something back to you or repeat back what you hear from your child. This type of listening supports empathetic behaviors because you are listening to gain understanding.
- Read Stories about Empathy: Read books about empathy such as The Spiffiest Giant in Town by Julia Donaldson, Bear Feels Sick by Karma Wilson, or We’re All Wonders by R.J. Palacio which provide characters who care for others and demonstrate kindness after empathizing with another. Additionally, ask your child questions like, “How do you think this character is feeling right now?” to help develop deeper thinking around empathy.
Developing empathy takes time and patience, but with the support of loving parents and caregivers, children will learn how to relate to others and respond with care and kindness.
|
|
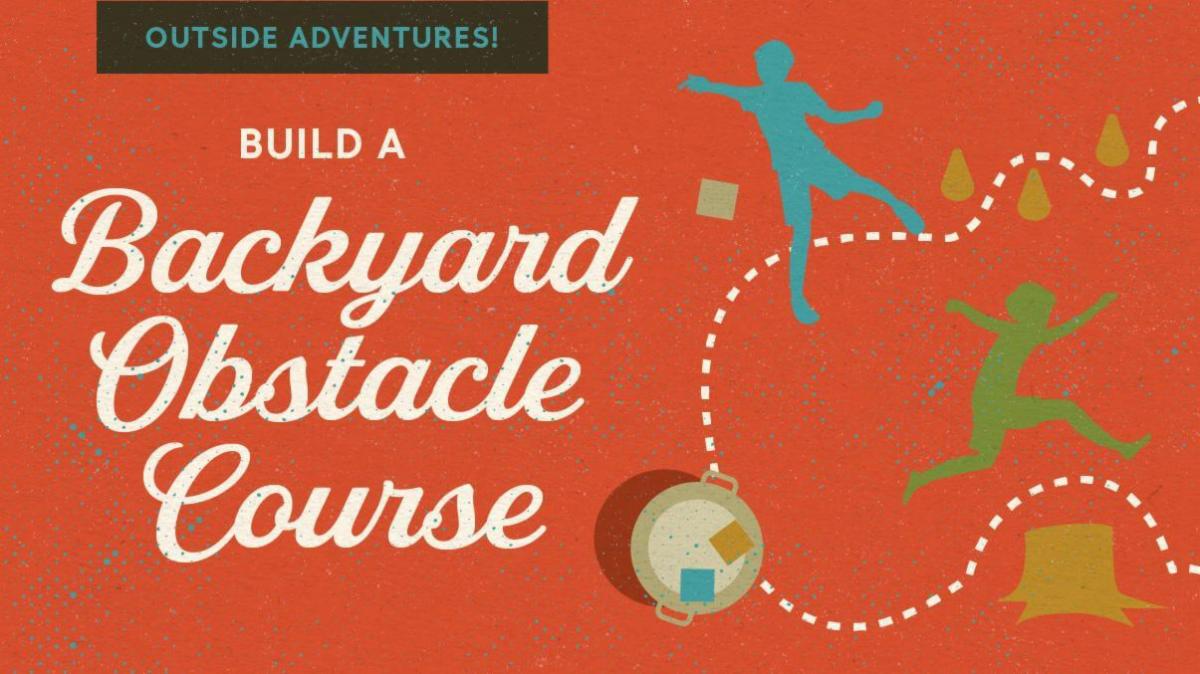
Build a Backyard Obstacle Course
Active children with energy to spare love the twists, turns, and quick thinking of an old-fashioned obstacle course—and you’ve probably already got everything you need to build one! Here’s how to create a fun backyard obstacle course with things you’ll find around the house.
What You’ll Need
Look around your house and garage for items you can use to create obstacles. Start with these ideas:
- Large cardboard boxes or hula hoops for crawling through
- Tarps, blankets, or pool noodles for crawling under (drape or balance them on other objects or anchor them into arches)
- Plastic wading pools, garden hoses, or sprinklers for splashing through
- Safety cones, tires, or overturned flower pots for weaving and running
- Chairs, stools, wooden crates, or scrap lumber for balancing, jumping, and climbing
- Sports equipment for kicking, rolling, and throwing
- Clothesline, rope, or bungee cords for jumping over, ducking under, running around, and fancy footwork (use them to hang objects to dodge or create loopy designs on the ground for hopping)
- Empty buckets, large planters, or bins for catching thrown objects
- Sidewalk chalk for marking start and finish lines, drawing hopscotch, or adding artistic flair to paved surfaces
- Large plastic cups for balancing, building, or knocking over
Get Ready… Get Set…
1. Consider how much play space you have available and how many obstacles you want. A good rule of thumb is to create one obstacle per year of age for the children who’ll be playing. For example, a course of 6 to 8 obstacles is manageable for kids 6 to 8 years old.
2. Check your play space for built-in obstacles. Is there a stump, tree, fence, or play structure that can serve as an obstacle? Use it to your advantage! At the same time, scan for and remove any potentially dangerous objects.
Get Set…
1. Think about how you’ll use your items to create obstacles that require children to move, move, move! Keep these words in mind: Over. Under. Through. Around. Swing. Leap. Throw. Kick. Balance.
2. Plan your course on paper before setting it up outside. Children will have the most fun on a course that varies their movements. For example, if you start with crawling, make the next movement standing or jumping, and the next throwing or kicking.
3. Determine the start and finish lines, as well as the path children will take through the obstacles. Leave as much space as possible between each one.
4. Decide whether you’ll time players from start to finish, or if you’ll give each one a time limit. Motivating them to move as quickly as possible adds to the fun!
Play!
1. Gather the players and walk them through the course. Demonstrate how to complete each obstacle and point out anywhere you’d like them to be extra careful.
2. Line the players up behind the starting line, from youngest to oldest. The youngest player goes first.
3. Yell “Go!” and start the timer for each player. While the player scrambles through the course, spectators can cheer, give tips, and yell time updates. (Reset any obstacles after each player.)
4. Encourage the children to beat their best time—or to beat the time.
|
|
Cognitive & Phonological Development
|
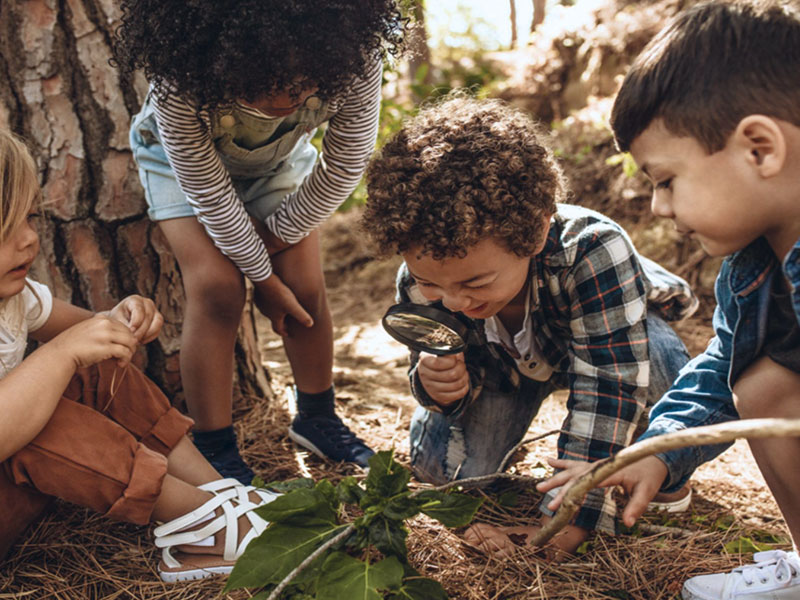
Cognitive Camping Activities
Your child will have fun learning and practicing basic skills such as creating patterns,
identifying words in a story, finding the 'different' item, learning vocabulary words, working through
a maze, singing a camping song, combining words to make compound words and more!
|
Scavenger Hunt Riddles
The PDF link below is a list of indoor scavenger hunt riddles followed by another list of outdoor scavenger hunt riddles for children. These lists have been created as a foundation to help you get started, you can print the clues out or you can add to them if you would like.
Make sure your scavenger hunt riddles are strategically placed before the game begins. Each clue should lead to the next!
|
|
Emotional & Social Development
|
Positive Self-Talk
Encourage Positive Self-Talk. Self-talk is a voice in our minds that reassures and encourages us. It also helps us control our emotions so we can deal with problems appropriately. Teaching positive self-talk is very important. Model this and encourage this every day. Use this positive thoughts and affirmations list to get started!
|
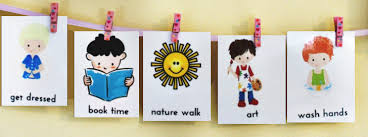
Visual Daily Schedule
Visual daily schedules create predictability and safety for children, reducing conflict and increasing cooperation. Use the instructions and the downloadable images to create a simple visual schedule for your children.
A visual daily schedule helps create a sense of safety by providing a predictable pattern and displaying it in an easily accessible way. It also helps build executive functions like prioritization, flexibility and time management. Establishing a predictable flow to your day will help reduce conflict, uncertainty and power struggles.
Adults think in words; however, children think in pictures. Using pictures to show children what comes next provides the consistency and predictability their brains require in a visual form.
Use this attached PDF to create a visual schedule for your children!
|
|
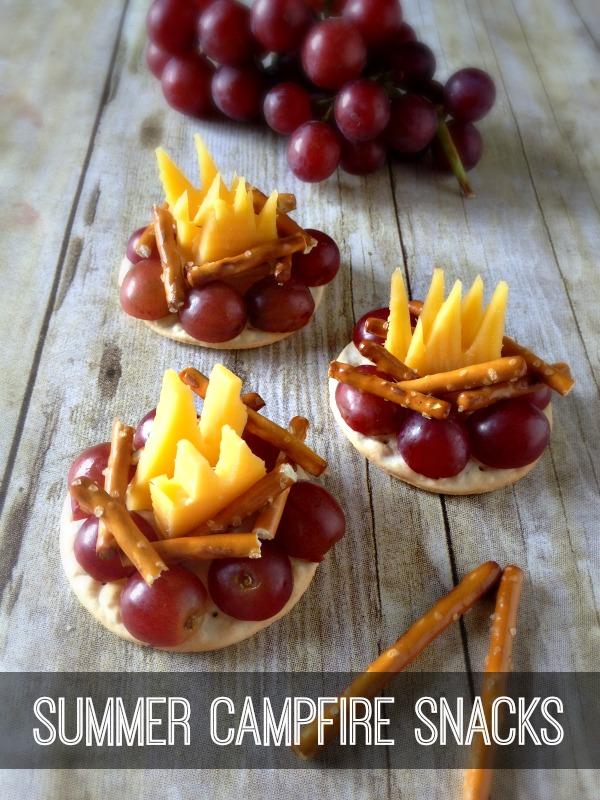
Summer Campfire Snacks
The great thing about these snacks is every one wins. Moms love it because it’s healthy and children love it because it’s an awesome campfire! Plus this wholesome treat only takes minutes to make.
- First, gather your supplies. Some crackers (represents the ground), grapes or blueberries(for the stones), pretzel sticks (for the wood), and cheese (for the fire flame).
- Next it’s time to build the fire pit. Cut your grapes or blueberries in half and place in a ring along the outer edge of your cracker.
- Next it’s time to add the fire. Take a piece of cheese and cut flames on one end. Then place in the middle of your stones aka the grapes or blueberries.
- Now it’s time for the wood. Now you may have wondered why I didn’t add the pretzels before the cheese. I think it’s easier to get the cheese to stand up with the pretzels giving it a little more support. So, break your pretzels in half and pile them on the campfire to finish the snack!
|
|
S’more Snack Mix
There is a camp treat people make, and everyone wants more and more and more of it! Do you know what it is? S’mores! Help the children mix up their own S’more Snack Mix.
What you’ll need:
- A zip-top bag
- Mini marshmallows
- Chocolate chips
- Golden Grahams cereal
- Serving spoons or scoops
- Optional mix-ins: dried cranberries, coconut flakes, sunflower seeds
Putting it together:
Open your bag. Put in two scoops of cereal. Add a scoop of marshmallows and a scoop of chocolate chips. Those are the things you need to make s’mores—graham crackers, marshmallows, and chocolate. Now add other things, if you like. Close the bag. Shake it to mix!
|
|
|
|
|
|
|