|
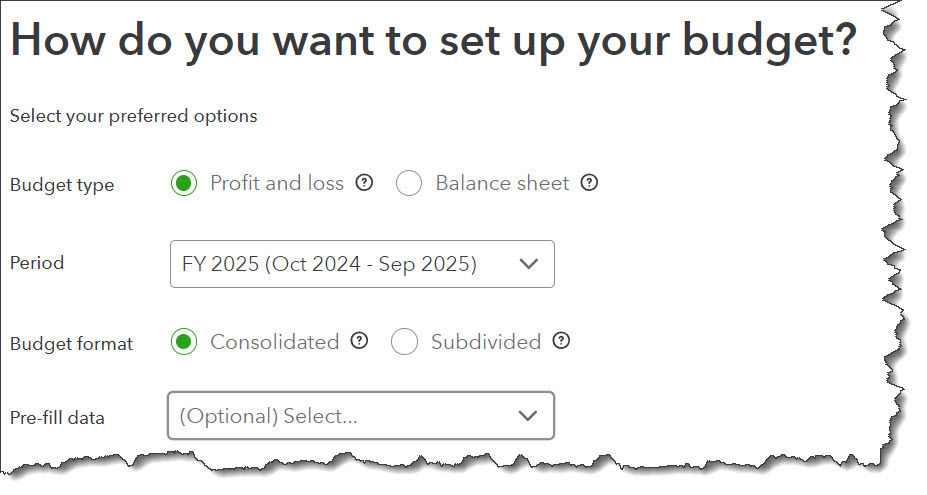
QuickBooks helps you prepare the budget you want.
Click Next when you’re done. Your budget table will open.
Filling In Your Budget
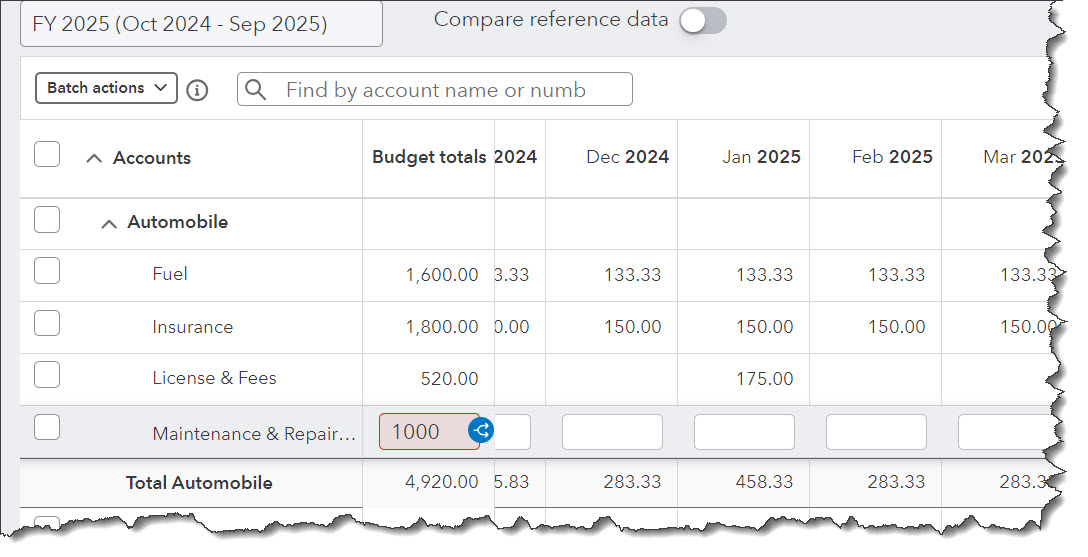
Before you start filling in your budget, make sure the information at the top of the page is accurate. Is the fiscal year correct? The button in front of Compare reference data should be turned off, since we’re starting from scratch. If you have past budget data or a year’s worth of income and expenses that you want to bring in, make sure this option is turned on. QuickBooks Online will then ask you whether you want to transfer your Actuals (real money you received or spent) or your budget, and for what year.
Make sure the time span is set correctly for your initial work (Yearly, Quarterly, or Monthly), though you can switch back and forth among them without losing data. Click the gear icon in the upper right to see your options there. You can Autosave budget (recommended), Hide empty rows (you won’t want to do this until you have your budget set up), and make the Display density compact.
To create your budget, you simply enter numbers in the small boxes supplied. Columns are divided by months or quarters, depending on what you specified, and rows are labeled with budget items (Advertising, Gross Receipts, Legal & Professional Fees, etc.). You simply enter numbers in the boxes that apply. You can either:
-
Enter an annual total in the Budget totals box and let QuickBooks Online divide it into 12 monthly numbers (click the small “split” icon), or,
- Put the monthly amount in the first month’s (or quarter’s) column, and QuickBooks Online will multiply it by 12 and enter the annual number (click the small arrow).
You can also, of course, enter different numbers in each box to reflect changing budget needs.
|